


Position Sizing Basics for Algo Strategies, Fixed, Percent, and Volatility Based
A strategy can identify good entries, exit consistently, and still produce a poor account level result if the position size is wrong.
That is because every trading signal answers only part of the problem. The entry tells you when to trade. The exit tells you when to leave. Position sizing determines how much capital is exposed while the trade is open.
This is where two traders, or two automated strategies, can take the same trade and experience completely different outcomes. One may lose a manageable amount and continue operating normally. The other may take such a large loss that the remaining strategy performance no longer matters.
For algorithmic strategies, position sizing is especially important because the rule is applied repeatedly without hesitation. A sizing mistake is therefore not a one time decision. It becomes part of every trade the system takes.
In this guide, we will look at three common approaches:
Fixed position sizing
Percent based position sizing
Volatility based position sizing
We will also look at where each method fits, what can go wrong, and how to compare them properly in a backtest.
What Position Sizing Actually Means
Position sizing answers a simple question:
How many shares, contracts, or units should the strategy trade when a valid signal appears?
Suppose a strategy generates a buy signal for an instrument trading at 450 dollars. The strategy expects to exit if the price falls by 5 percent.
The signal is the same in every case, but the account impact changes with the number of units traded.
Position Size | Capital Used | Loss At 5 Percent | Loss On A 10,000 Dollar Account |
|---|---|---|---|
10 shares | 4,500 dollars | 225 dollars | 2.25 percent |
20 shares | 9,000 dollars | 450 dollars | 4.50 percent |
100 shares | 45,000 dollars | 2,250 dollars | 22.50 percent |
The strategy idea did not change. The market move did not change. Only the position size changed.
This is why position sizing should not be treated as a small implementation detail. It directly affects drawdown, recovery time, capital usage, and the number of losing trades the account can survive.
Position Size Is Not The Same As Risk
One of the most common mistakes is to confuse the value of a position with the amount being risked.
Buying 10,000 dollars worth of an instrument does not always mean risking 10,000 dollars. If the strategy has a planned exit 2 percent below the entry, the intended trade risk may be closer to 200 dollars, before accounting for slippage, gaps, and execution differences.
The reverse is also true. A position may look small in value but still carry substantial risk if the instrument is highly volatile, leveraged, or capable of moving sharply between the entry and the intended exit.
A useful sizing process therefore considers at least three things:
The account value
The distance between entry and the planned risk exit
The behaviour of the instrument being traded
This distinction becomes important when we compare the three sizing methods.
Method 1, Fixed Position Sizing
Fixed sizing means trading the same number of shares, contracts, or currency units every time.
A strategy might always trade 20 shares, one futures contract, or 1,000 dollars worth of an asset whenever a valid signal appears.
Why Traders Use It
Fixed sizing is easy to understand and easy to implement. It can also be useful during early testing because it allows the trader to study the signal logic without introducing a changing position size.
For example, if every trade uses 10 shares, the performance differences are easier to attribute to the strategy rules rather than account growth or volatility adjustments.
Where It Falls Short
The main limitation is that fixed sizing does not adapt.
If the account grows from 10,000 dollars to 25,000 dollars, the same fixed position becomes smaller relative to the account. If the account falls, the same position becomes larger relative to the remaining capital.
It also treats instruments with very different prices and volatility as if they carry the same risk. Ten shares of a stable, lower priced instrument may behave very differently from ten shares of a highly volatile, higher priced instrument.
When Fixed Sizing Can Make Sense
Fixed sizing may be suitable when:
You are testing the signal logic in isolation
You are paper trading a new workflow
The strategy trades a single instrument with relatively stable characteristics
The contract size cannot be divided further
It is less useful when the account value changes materially, the strategy trades instruments with very different volatility, or the fixed size creates inconsistent risk from one trade to the next.
Method 2, Percent Based Position Sizing
Percent based sizing links each position to the current account value.
There are two common versions, and they should not be confused.
Percent Of Equity Allocation
In the simpler version, the strategy allocates a fixed percentage of the account to each trade.
For example, a 20,000 dollar account using a 10 percent allocation would place approximately 2,000 dollars into the position.
The basic formula is:
Position value = Account equity × Allocation percentage
This approach scales the position as the account changes, but it does not automatically equalise the potential loss. A 2,000 dollar position in a calm instrument may carry much less risk than the same allocation in a volatile instrument.
Percent Risk Per Trade
The second version starts with the amount the trader is prepared to lose if the planned exit is reached.
The formula is:
Risk amount = Account equity × Risk percentage

Position size = Risk amount ÷ Risk per unit
Suppose the account value is 10,000 dollars and the chosen trade risk is 1 percent. The risk budget is therefore 100 dollars.
If the entry is 450 dollars and the planned exit is 440 dollars, the risk per share is 10 dollars.
Position size = 100 dollars ÷ 10 dollars
Position size = 10 shares
If the stop distance widens to 20 dollars, the same risk budget produces a position of 5 shares. If the stop distance narrows to 5 dollars, it produces 20 shares, subject to capital, leverage, liquidity, and minimum size constraints.
Why It Is Useful
Percent risk sizing adapts to both the account value and the planned risk distance. As the account grows, the risk budget can grow with it. If the account falls, the risk budget reduces.
This creates a more consistent relationship between each trade and the size of the account.
Important Limitations
The calculation does not guarantee that the final loss will match the risk budget exactly. Stops can fill at worse prices during gaps or fast markets. Slippage, spreads, and order execution can all increase the realised loss.
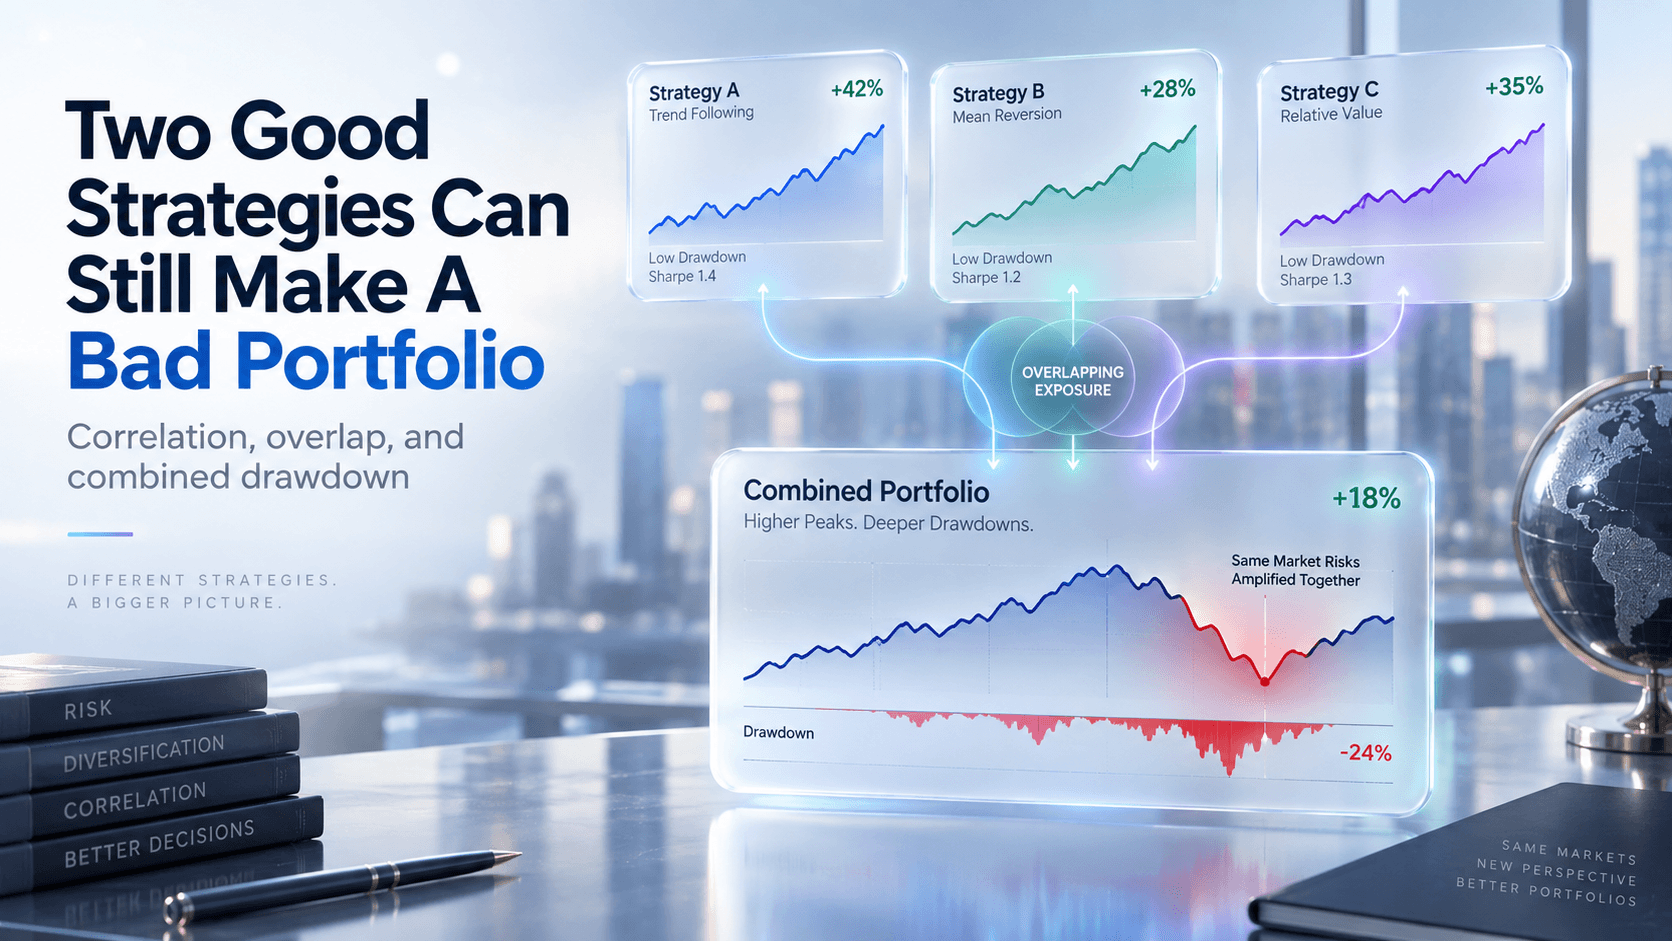
It also does not account for several positions being open at the same time. Five trades that each risk 1 percent may create much more than 5 percent portfolio risk if the positions are highly correlated and move together.
Percent risk sizing is therefore a useful starting framework, but it still needs portfolio level controls.
Method 3, Volatility Based Position Sizing
Volatility based sizing adjusts the position according to how much the instrument typically moves.
The principle is straightforward:
A more volatile instrument receives a smaller position
A less volatile instrument may receive a larger position
One commonly used volatility measure is Average True Range, or ATR. ATR estimates the typical trading range over a selected period and includes price gaps in its calculation.
A basic ATR based sizing model can be written as:
Risk amount = Account equity × Risk percentage

Stop distance = ATR × ATR multiplier

Position size = Risk amount ÷ Stop distance
Suppose the account value is 10,000 dollars and the trade risk budget is 100 dollars.
If ATR is 5 dollars and the strategy uses a stop distance of 2 ATR, the planned distance is 10 dollars.
Position size = 100 dollars ÷ 10 dollars
Position size = 10 shares
Now compare two instruments using the same risk budget.
Instrument | ATR | ATR Multiplier | Stop Distance | Calculated Position |
|---|---|---|---|---|
Lower volatility instrument | 2 dollars | 2 | 4 dollars | 25 shares |
Higher volatility instrument | 10 dollars | 2 | 20 dollars | 5 shares |
The volatile instrument receives a smaller position because each unit is expected to move more.
Why It Is Useful
Volatility based sizing can make risk more comparable across different instruments and changing market conditions. This is particularly useful for multi asset strategies, crypto markets, futures, and portfolios that trade instruments with very different price behaviour.
Important Limitations
ATR describes recent price movement. It does not predict the maximum possible move, and it does not protect against gaps, sudden liquidity changes, or exceptional events.
The chosen ATR period and multiplier also affect the result. A very short period may make the position size change too aggressively, while a very long period may react slowly to a new volatility regime.
Volatility based sizing should therefore be tested across different market conditions rather than accepted simply because it appears more sophisticated.
Fixed, Percent Based, Or Volatility Based
There is no universally correct method. The appropriate choice depends on the strategy, instruments, account structure, and the type of consistency you are trying to achieve.
Method | Main Advantage | Main Limitation | Often Useful For |
|---|---|---|---|
Fixed sizing | Simple and easy to compare | Does not adapt to equity or volatility | Early testing, paper trading, indivisible contracts |
Percent allocation | Scales with account value | Equal allocation does not mean equal risk | Portfolio allocation and simple systems |
Percent risk | Connects trade size to planned loss | Depends on stop distance and execution assumptions | Strategies with defined risk exits |
Volatility based | Adjusts for changing market movement | Depends on the volatility model and parameters | Multi instrument and volatility sensitive strategies |
A trader may also combine methods. For example, a strategy could use volatility based sizing but cap the final position at a maximum percentage of account equity. Another strategy may calculate a percent risk size and then reduce it when several correlated positions are already open.
The method is less important than the discipline of testing how it behaves inside the full strategy.
Position Sizing And Losing Streaks
Position sizing has a direct effect on how an account behaves during a losing streak.
If each trade risks a constant percentage of current equity, the account decline compounds rather than moving in a perfectly straight line. Ten consecutive losses at 1 percent risk do not produce exactly a 10 percent drawdown because each new loss is calculated on a slightly smaller account.
The approximate effect is shown below.
Risk Per Trade | Account Remaining After 10 Full Risk Losses | Approximate Drawdown |
|---|---|---|
0.5 percent | 95.11 percent | 4.89 percent |
1 percent | 90.44 percent | 9.56 percent |
2 percent | 81.71 percent | 18.29 percent |
5 percent | 59.87 percent | 40.13 percent |
This table assumes each trade loses the full planned amount and ignores gaps, slippage, fees, and overlapping exposure. Real results can be worse.
The important point is not that one percentage is universally correct. It is that small changes in risk per trade can produce very different account paths during an extended losing period.
Common Position Sizing Mistakes
Treating Every Instrument As Equally Risky
The same number of shares does not create the same risk across instruments. Price, volatility, liquidity, contract value, and leverage all matter.
A fixed unit size may therefore create a portfolio where one instrument quietly dominates the risk.
Ignoring Open Portfolio Risk
A strategy may size every trade correctly in isolation and still become overexposed when several positions are open together.
This is especially important when positions are correlated. Three different technology stocks may behave like one concentrated trade during a market decline.
Position sizing should therefore be paired with limits on total exposure, sector concentration, and concurrent risk.
Using Leverage As The Sizing Rule
Available buying power should not determine position size.
Leverage changes how much exposure the broker allows, but it does not change the amount the account can safely lose. The position should be based on the strategy's risk model, with leverage treated as a separate constraint.
Assuming The Stop Price Is Guaranteed
A stop order defines an intended exit process, not a guaranteed loss amount.
Fast markets, overnight gaps, thin liquidity, and system delays can all cause the actual exit to occur beyond the planned price. Backtests should include realistic slippage assumptions, and live deployment should begin cautiously.
Optimising The Sizing Rule To One Backtest
It is easy to test several risk percentages and select the one that produced the highest historical return. That can simply create a more aggressive version of the same backtest rather than a more robust strategy.
A better comparison looks at return, max drawdown, recovery time, profit factor, trade distribution, and performance across different market periods.
How To Test Position Sizing In FlyTradr
FlyTradr can be used to compare how different sizing methods change the same strategy. The key is to keep the entry and exit logic unchanged while changing only the sizing rule.
For example, you might compare:
A fixed position on every trade
A fixed percentage of equity
A percent risk model based on the planned exit distance
A volatility adjusted model
Run each variation over the same symbol, timeframe, and historical period. This isolates the effect of position sizing more clearly.
In the Backtesting Lab, compare more than the final return. Review:
Maximum drawdown
Average drawdown
Profit factor
Average trade
Worst trade
Losing streaks
Capital usage
Trading costs
Position size changes over time
A sizing method that produces the highest return may also create an account path that is difficult to tolerate or unrealistic to execute.
Related guide, What Is Drawdown, And Why It Matters More Than Win Rate
A Practical Testing Workflow
A useful workflow is to begin with a simple baseline and add complexity only when the results justify it.
Step 1, Establish A Fixed Size Baseline
Use a modest fixed size to understand the behaviour of the signal logic. This gives you a clean reference point.
Step 2, Test A Percent Based Method
Check how the strategy changes when the position scales with account equity or a defined risk budget.
Step 3, Test Volatility Adjustment
If the strategy trades volatile markets or multiple instruments, test whether volatility adjustment produces a more stable risk profile.
Step 4, Stress Test The Assumptions
Change the risk percentage, volatility period, multiplier, and cost assumptions within reasonable ranges. A robust sizing approach should not collapse when one input changes slightly.
Step 5, Validate Outside The Original Backtest
Use out of sample testing, simulation, and paper trading before considering live deployment. Position sizing errors become far more serious when real money and imperfect execution are involved.
The Bottom Line
Position sizing does not create an edge by itself. A strategy with poor entry and exit logic will not become profitable simply because the position size is calculated carefully.
What position sizing does is control how strongly each trade affects the account.
Fixed sizing offers simplicity. Percent based sizing adapts to account value and planned risk. Volatility based sizing adjusts for changing market movement. Each method has strengths, limitations, and situations where it makes more sense.
The correct question is not, which position sizing method is best.
The better question is, which method produces a risk profile that the strategy, the account, and the trader can realistically sustain?
Comments
Ask a question or leave feedback. Guests can post too.
Max 2000 characters.
No comments yet.
Quick answers
What is this article about?
Position sizing determines how much you risk per trade.
Who should read this article on Position Sizing Basics for Algo Strategies (fixed, percent, volatility)?
This article is for retail traders who want a practical understanding of position sizing basics for algo strategies (fixed, percent, volatility) before moving into backtesting, simulation, paper trading, or broker-connected execution.
What should I do after reading this article?
Use the article to clarify the concept first, then review FlyTradr workflow pages such as the algo trading platform overview, methodology and assumptions, or the FAQs page before making a platform decision.